25 Jan How to Center a Button in WordPress?
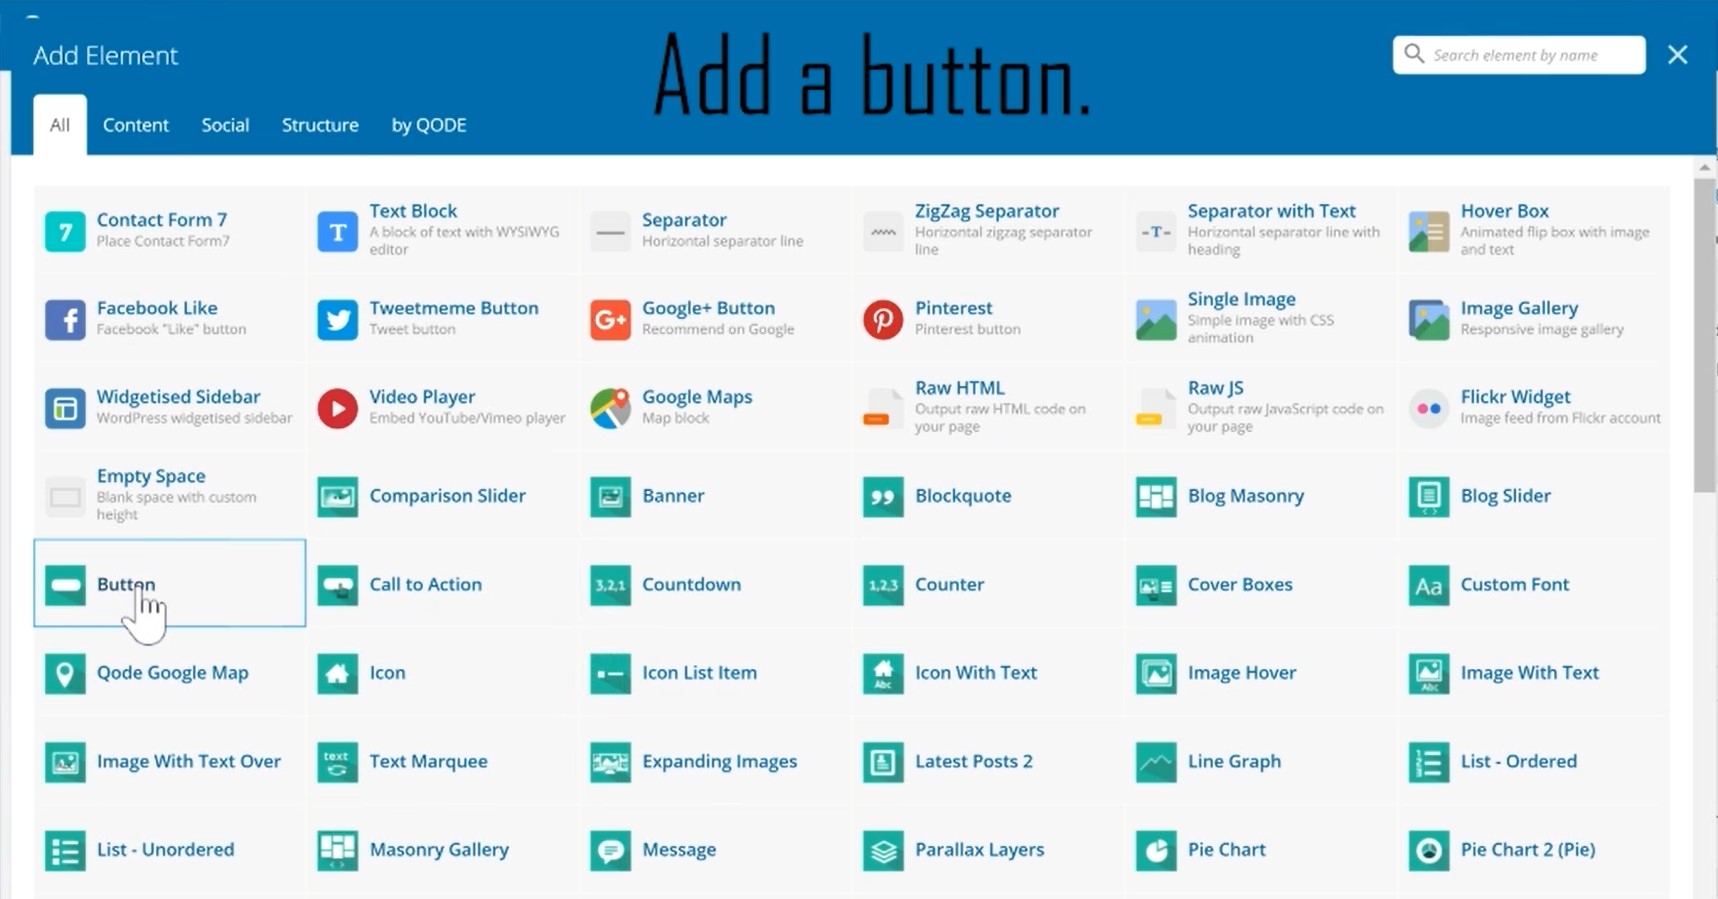
This tutorial is for beginners learning about web design. I will show you how to center your button by itself using one column and aligning your button to a specific column with text. How to center your button by itself? This lesson can be useful if you just want a button on your page. 1. First, you start off by adding an element to your web page. It will show you various elements to choose from. You will choose a row. 2. You will click on the plus icon that's on the row. It will show you other elements to add to your row. You can add text, an image, or an empty box for space. For now, we will place a button inside the row. 3. When choosing a button, you can change the background color, hover color, or text in the button settings. I’m only changing the text to say ‘View More’. 4. After you update and preview the page, the button will be on the left side of the page and not at the center. At the very top of every row, you can customize the columns, edit the row, duplicate it, or delete the whole row. You need to edit the row which is the pencil icon. A window will pop out called 'Row Settings'. In 'Row Settings', you will scroll down till you find ‘Text Align’ and change 'left' to 'center' instead. This can now make your button be at the center of the page since at default the row places everything on the left side. 5. Update the page and click on the preview to see the changes. You will see that the button will be at the center of the page. Now, I want to demonstrate how to align your button with other elements, such as text. You will also change the column option in...